
Last updated November 4, 2026
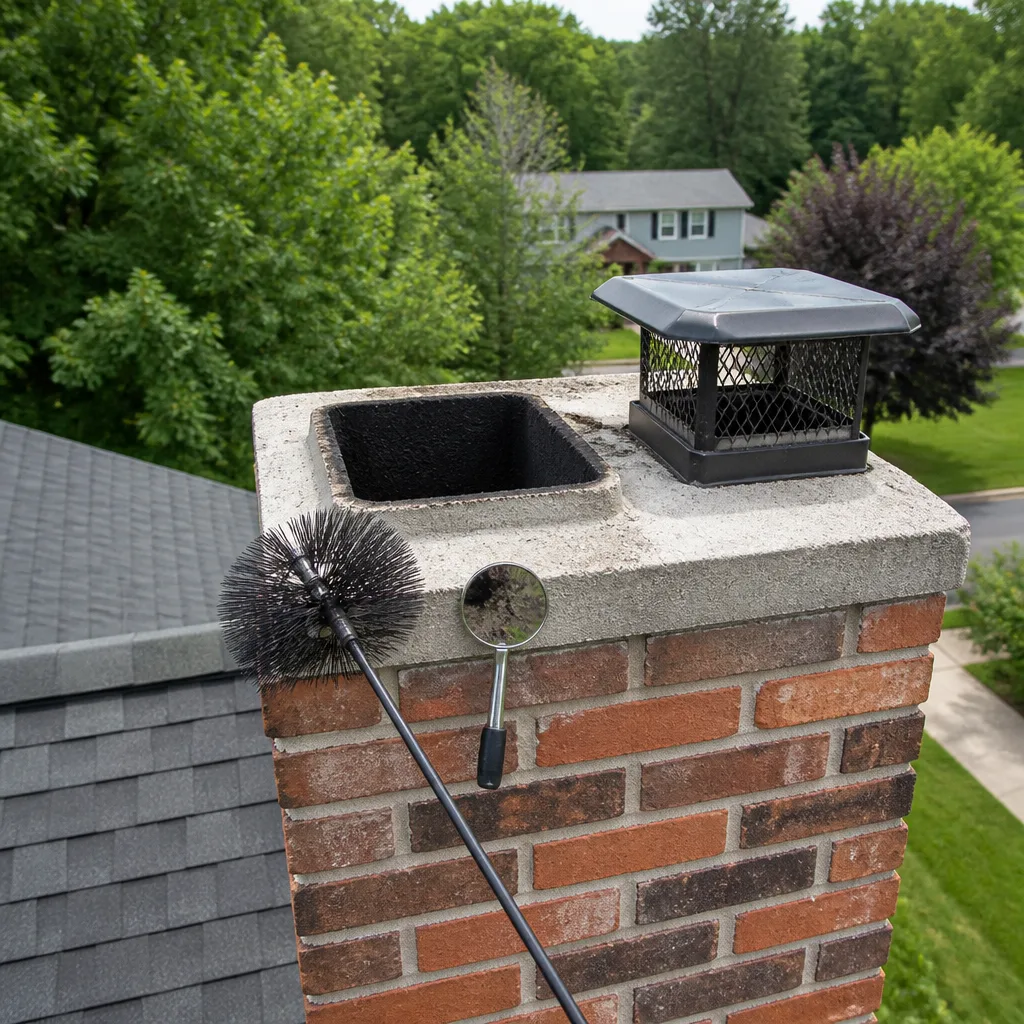 Sweep & inspection
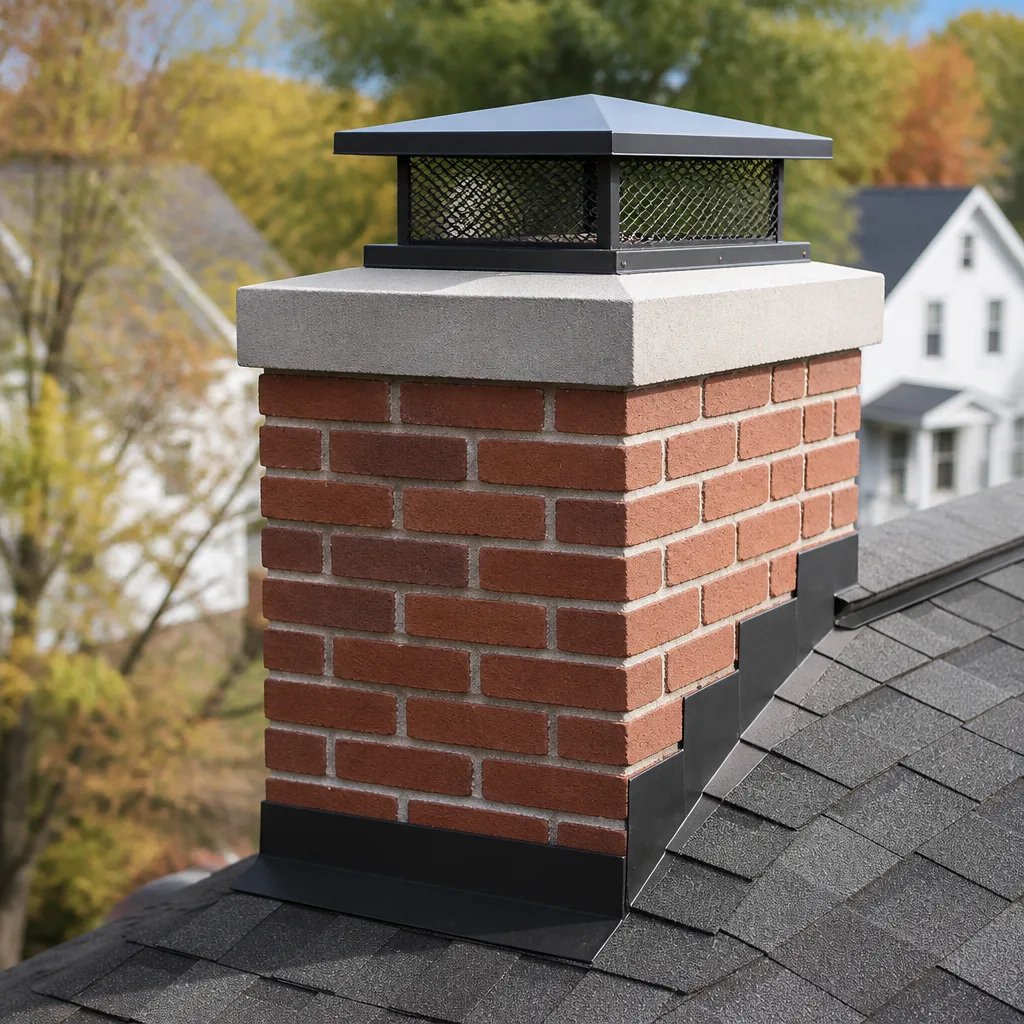 Caps & crowns
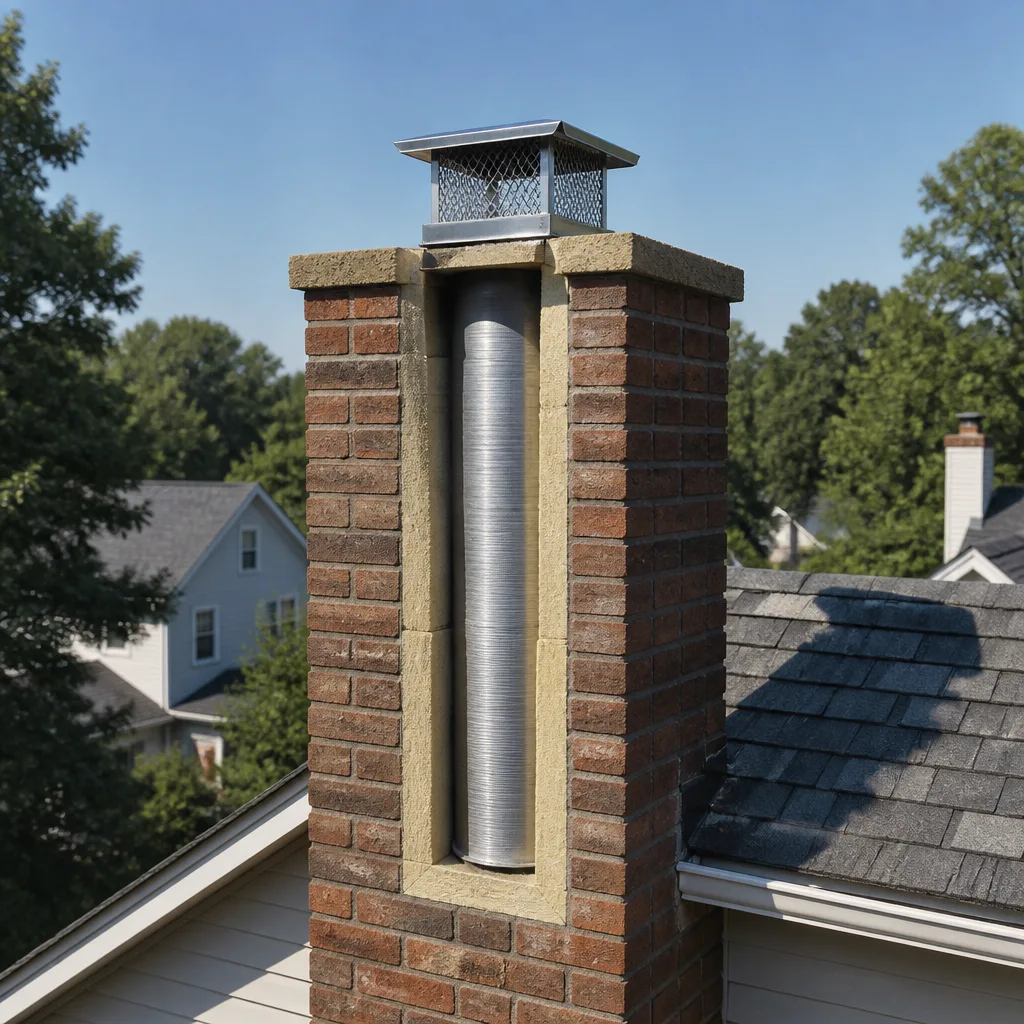 Flue relining
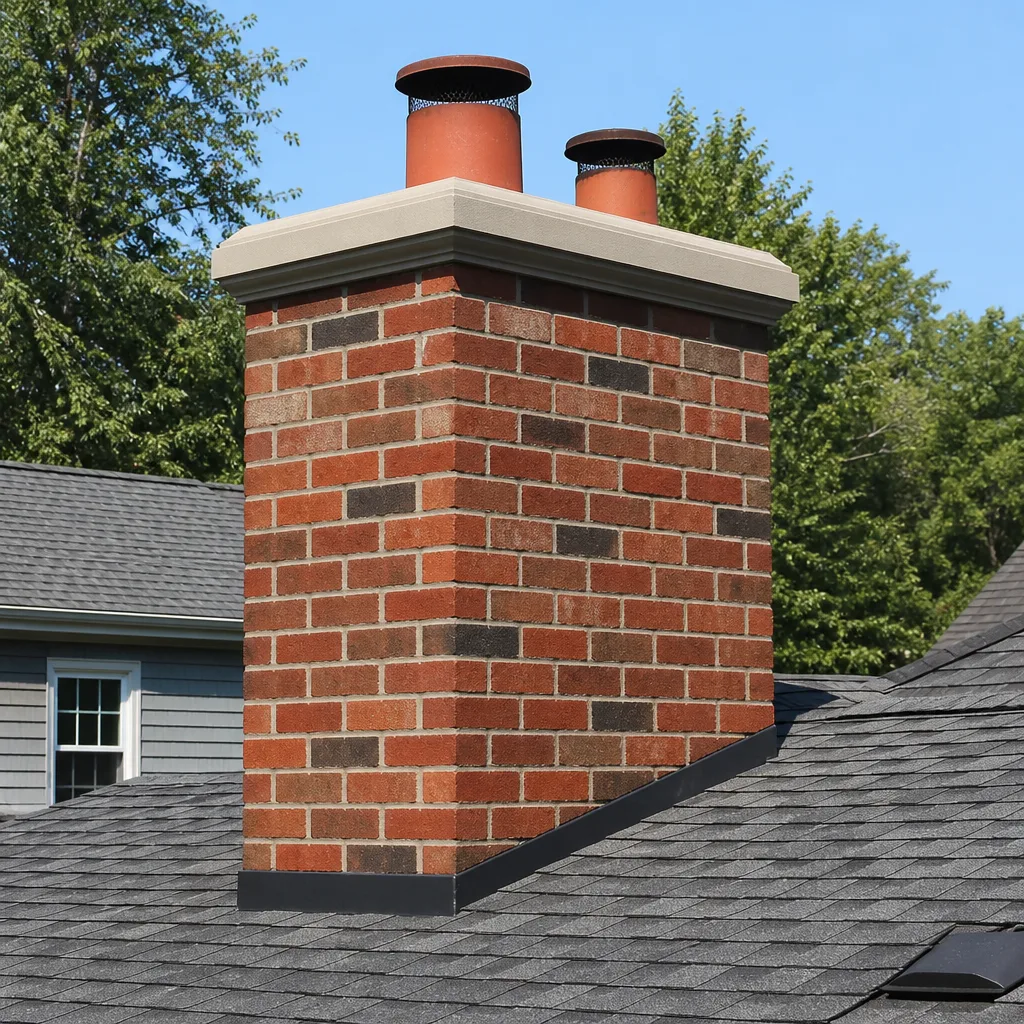 Masonry repair
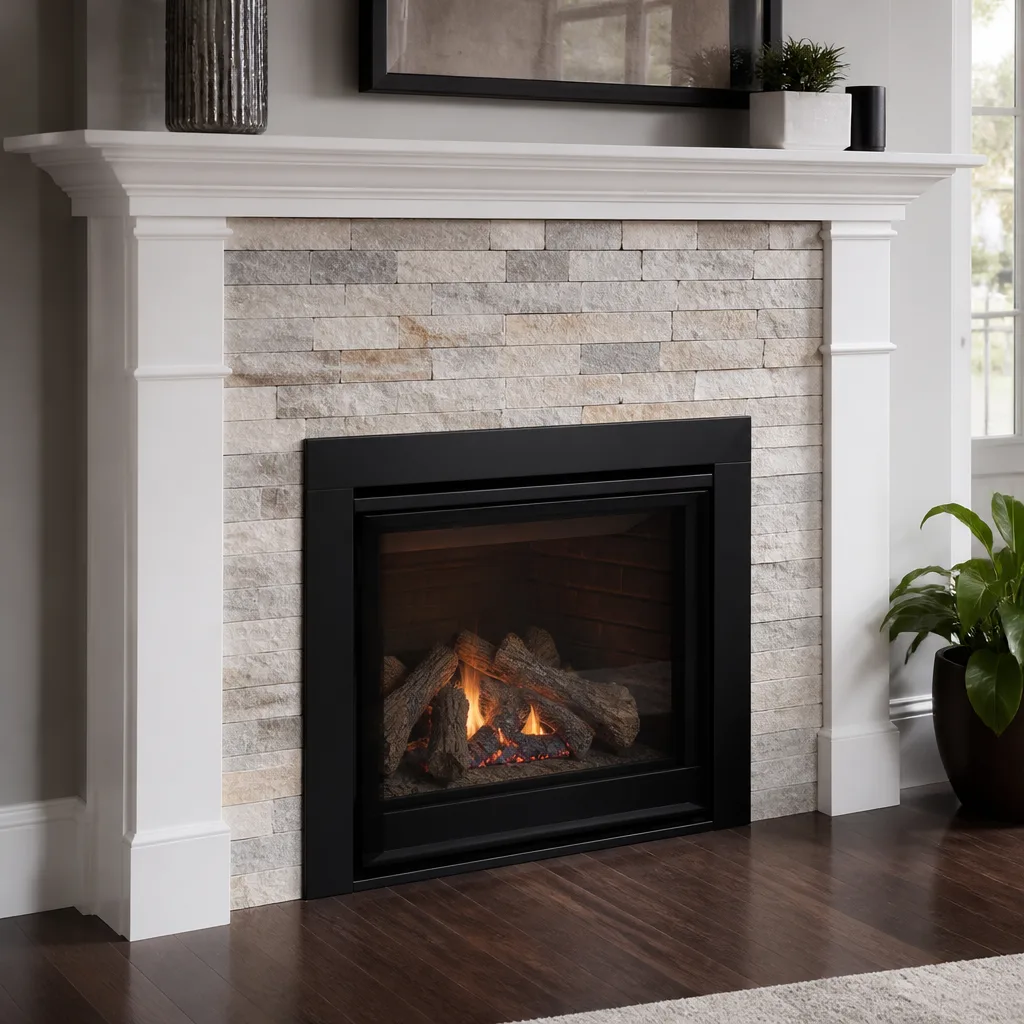 Gas fireplace service
Level 1 sweep and inspection to the NFPA 211 annual standard - flue, crown, cap, and flashing checked and photographed
Chimney sweep logs do not sweep chimneys. They loosen some creosote - which then falls where a brush and vacuum still have to collect it.
DIY vs Professional Chimney Cleaning: The Silver Lake Homeowner’s Decision Guide
You can buy the same rods and brushes many chimney sweeps use for about $60 online. What you can’t buy is a camera that shows you the smoke chamber shelf, the tile liner joints, or the space behind the firebox wall. That’s where the conditions that actually cause house fires tend to hide. This guide walks through what a DIY cleaning really covers, what it misses entirely, and why Silver Lake’s older housing stock makes the inspection half of the job more important than the sweeping half. By the end, you’ll know exactly when to grab a brush and when to pick up the phone.
Quick Answer
DIY chimney cleaning can remove loose soot and light Stage 1 creosote from the flue walls you can reach, but it cannot inspect the smoke chamber, liner joints, or hidden firebox cavities where dangerous buildup and structural damage actually hide. For most Silver Lake homes, the practical answer is: brush between professional visits if you want to, but never replace the annual professional sweep and inspection. A homeowner can do the part they can see; a chimney sweep does the part they can’t.
Styles & brands we work with
- Sweep & inspection
- Caps & crowns
- Flue relining
- Masonry repair
- Gas fireplace service
Table of Contents
- What a DIY Rod-and-Brush Cleaning Actually Covers
- What DIY Misses: The Invisible Half of the System
- Why Silver Lake’s Older Housing Stock Changes the Math
- Cleaning and Inspection Are Two Separate Jobs
- What DIY Actually Costs vs a Professional Sweep in Silver Lake
- Step-by-Step: What a Responsible DIY Sweep Looks Like
- Common Mistakes to Avoid
- When to Call a Professional
What a DIY Rod-and-Brush Cleaning Actually Covers
A DIY chimney cleaning is a mechanical brushing of the vertical flue. That’s it. You run a wire or poly brush up and down the liner to knock loose soot and light creosote off the walls, then sweep up what falls into the firebox. When it goes well, you remove the loose, powdery Stage 1 creosote that forms from cooler, less complete burns. That’s a real thing and it has real value. But the scope is narrow.
Here’s what a rod-and-brush kit from a hardware store or online retailer realistically reaches in a standard masonry chimney:
- The vertical flue walls: the straight run of terra cotta tile or metal liner above the damper up to the chimney cap. A brush scrubs the flat surfaces it can touch.
- The damper area: with moderate effort, you can knock soot off the damper frame and throat area, though thin brush filaments often skip the corners.
- The firebox floor: everything you brush down lands here, and you can shovel it out with a shop vacuum and a dust mask.
That’s the complete list. Notice what’s not on it: the smoke chamber, the smoke shelf, the area behind the damper hinge, the liner joints, the chimney crown, or the exterior masonry. A brush only cleans what it physically touches, and in a typical fireplace chimney, the brush touches maybe 60% of the interior surface area. The other 40% is where problems concentrate.
In our experience, the homeowners who do the best DIY jobs are the ones who understand this limitation clearly. They brush to keep the vertical flue tidy between professional visits, not to replace those visits entirely. That’s a smart, workable model. Treating a $60 brush kit as a substitute for a full sweep and inspection is how houses end up with Stage 3 creosote hiding in the smoke chamber while the homeowner believes the chimney is clean.
What DIY Misses: The Invisible Half of the System
The parts of a chimney a homeowner can’t see from the firebox are the parts a professional camera inspection is designed to reach. And in a masonry chimney, those invisible parts are load-bearing surfaces, not just cosmetic ones. Creosote accumulation there is a fire hazard. Liner damage there is a carbon monoxide pathway into the house. Neither condition announces itself with a smell or a visible stain.
Here are the specific conditions that hide from a DIY brush and a homeowner’s flashlight:
- Stage 2 and Stage 3 creosote in the smoke chamber. The smoke chamber sits between the damper and the flue, with corbeled brick steps that trap creosote aggressively. Stage 2 creosote is shiny, hard, and flaky; Stage 3 is a thick, tar-like glaze. Neither comes off with a brush. Both require mechanical rotary tools or chemical treatment. A homeowner brushing the flue above never touches this area.
- Terra cotta liner cracks and spalled joints. When a tile liner cracks, the gap behind it exposes the surrounding masonry to heat and gases. From inside the firebox, you cannot see a cracked tile twenty feet up. A camera can. Left alone, a cracked liner turns a routine chimney fire into a structure fire because the flames escape the flue path.
- Corbel deterioration behind the firebox wall. The corbeled brickwork that transitions the smoke chamber into the flue supports the liner above it. When those bricks loosen or the mortar fails, the whole upper chimney can settle. This is a structural problem that has nothing to do with how recently you swept, and nothing you do with a brush reveals it.
- Hidden blockages at the smoke shelf. Bird nests, squirrel debris, and chunks of spalled liner can sit on the smoke shelf for months, partially obstructing the draft. You’ll notice odd fireplace behavior eventually, but without a camera, you’re guessing at the cause.
- Crown and flashing failures. Water entry at the top of the chimney moves slowly. By the time you see a brown stain on the ceiling near the fireplace, the crown has likely been compromised for a while. A DIY sweep never gets you onto the roof to see this.
The pattern here is simple: everything a DIY sweep covers is reachable from inside the house. Everything it misses requires roof access, a camera, and specialized training to identify and interpret. If your goal is a clean flue, a brush helps. If your goal is a safe chimney, a brush is not enough.
Why Silver Lake’s Older Housing Stock Changes the Math
Silver Lake is not a neighborhood of new construction. The streets around the reservoir, up into the hills, and through the flats are full of homes built between the 1920s and the 1960s, many of them with original fireplace systems. That matters for the DIY-or-professional decision because those original systems were built to a different standard than today’s code.
The most common configuration we see in Silver Lake’s older homes is a terra cotta tile liner with a standard masonry damper. That’s not a problem in itself. Terra cotta liners worked fine for decades, and with good care, they still do. But they age. Tile joints crack, mortar spalls, and hairline fractures open up after years of heating and cooling cycles. The mild Silver Lake climate means these chimneys don’t face freeze-thaw stress the way chimneys in harsher climates do, but they still face thermal stress every time a fire burns hot and then cools at night.
Another Silver Lake-specific factor: non-standard damper frames. Many mid-century homes here were built with cast-iron or steel dampers in unusual sizes, sometimes installed at odd angles or replaced piecemeal over the decades. It’s common to find a damper that doesn’t fully close, which means the flue never seals completely, which means small animals find their way in more easily. A DIY sweep from below often can’t maneuver around these odd damper frames well enough to brush the throat area completely.
Pre-code construction also means some Silver Lake fireplaces were built without the full smoke chamber detailing that current standards require. The corbeling may be steeper than a modern mason would build, which creates more creosote-catching surfaces. The smoke shelf may be shallow. These aren’t code violations in the sense of being illegal; they’re just features of older construction that make inspection more important, not less. When a system deviates from standard geometry, you can’t assume a standard brush-and-rod routine addresses it.
The practical takeaway: if you own a 1920s Spanish Revival bungalow off Rowena or a 1950s hillside house near the reservoir, your chimney is probably not like the ones in the instructional YouTube videos. The video shows a straight flue with a round damper and a smooth smoke chamber. Your house may have an offset flue, a corroded rectangular damper, and a smoke chamber that looks like a staircase. A camera inspection tells you which one you have. Before that inspection, every DIY sweep you do is a guess about what you’re actually cleaning.
Cleaning and Inspection Are Two Separate Jobs
Here’s the sentence most chimney advice never states plainly: sweeping removes what’s there, and inspection evaluates whether what’s there is safe. Those are not the same function. A homeowner can perform the first. The second requires equipment and training that no amount of YouTube preparation provides.
Think of it this way. You can vacuum your own car. You can run a brush through the flue the same way. But when the check engine light comes on, you don’t keep vacuuming and hope the light goes off. You get a diagnostic scan. A chimney inspection is the diagnostic scan. It’s a trained eye looking at thermal stress, creosote stage, liner integrity, damper function, clearance to combustibles, and a dozen other variables that determine whether the next fire you light is safe.
The National Fire Protection Association standard, NFPA 211, separates chimney work into levels of inspection. A Level 1 inspection happens during a routine sweep when nothing about the system has changed. A Level 2 inspection, which uses a camera, happens when a property changes hands, when the system has been altered, or when a chimney fire or weather event has occurred. Most Silver Lake homes benefit from a camera-equipped inspection at least once, simply because the age of the housing stock means someone should see the inside of the flue before anyone declares it safe. A DIY sweep provides the sweeping but not the inspection, and no amount of brushing compensates for a flue that’s never been visually verified from top to bottom.
We’ve also met plenty of homeowners who brush diligently and then call us when they smell smoke or notice poor draft, and what we find is often something the brush couldn’t reach. This isn’t a failure of effort. It’s a mismatch between the tool and the problem. The brush removes loose material. It doesn’t evaluate structural integrity. The two functions happen to share a chimney, but they require completely different approaches.
What DIY Actually Costs vs a Professional Sweep in Silver Lake
Let’s talk dollar figures, because the cost comparison is the first thing most Silver Lake homeowners ask about, and the honest answer is more forgiving to DIY than most chimney companies admit.
A basic DIY rod-and-brush kit costs between $40 and $80. Add a tarp, a shop vacuum filter rated for fine dust, a proper dust mask, and safety glasses, and you’re realistically at $80 to $120 for the first sweep. If you already own the shop vacuum, you’re at the low end. After that first purchase, each future sweep costs almost nothing except your time. A professional chimney sweep in Silver Lake typically runs from $150 to $350 for a standard inspection and sweeping, depending on the height and condition of the system, with additional charges if the creosote is Stage 2 or heavier, if the system is oversized, or if it’s been more than a couple of years since the last cleaning.
So on pure cash outlay, DIY wins the first-year comparison and crushes it in subsequent years. Anyone who tells you otherwise is not doing the math honestly. The problem is that this comparison only accounts for the brushing. It doesn’t account for the inspection. A professional sweep at any price includes a Level 1 inspection as part of the visit. If the sweep decides a camera inspection is warranted, that’s an additional service, but even a Level 1 trained-eyes assessment catches things a homeowner would never see. The value of that expertise is invisible in a price-only comparison, which is why price-only comparisons consistently understate what a professional visit actually does.
The other cost variable is what happens when the DIY sweep finds something. If you brush and discover your damper is stuck, your tiles are crumbling, or your smoke chamber is glazed with hard creosote, you’re calling a professional anyway. And if you haven’t been having annual inspections, the professional visit may involve more work than it would have if the problem had been caught earlier. A chimney repair involving liner resurfacing with HeatShield or a full DuraFlex relining is a real expense. Catching the early warning signs through regular inspection is how homeowners avoid reaching that point.
The financially smart model, if you’re set on DIY: do the brushing yourself between visits, and pay for a professional inspection annually. You’ll keep the flue tidy enough to reduce creosote accumulation, and the professional will catch the things your brush can’t. It’s not either-or. It’s both, in the right order.
Step-by-Step: What a Responsible DIY Sweep Looks Like
If you’re going to brush your own chimney, do it properly. Here’s the sequence we’d recommend for a Silver Lake homeowner who wants to DIY safely and know their limits:
- Check the damper position and flue condition from below first. Shine a bright flashlight up the flue from the firebox. If you see thick, shiny creosote, or if you can’t see more than about six feet up because of buildup, do not brush. That’s a professional job with rotary tools, because a brush will either do nothing or make the blockage worse. Call us at (866) 538-0809 instead.
- Seal the opening thoroughly. Tape a plastic tarp or contractor film over the firebox opening. Cut a small slit for the rod to pass through. Run a shop vacuum hose inside the sealed area and keep the vacuum running while you brush to capture airborne dust. Wear a proper dust mask rated for fine particulates, not a paper painter’s mask.
- Brush from the top if you can safely access the roof. The most effective DIY brushing is from the chimney cap downward, which lets gravity carry debris into the firebox where you’ve sealed and vacuumed it. If your roof is steep, if the chimney is tall, or if you’re uncomfortable on a ladder, skip the roof approach. Brushing from below with a rod-and-brush kit is less effective but safer for many Silver Lake hillside homes with steep roof pitches.
- Work the brush in short up-and-down strokes, not long aggressive thrusts. You’re trying to knock loose material off the walls, not scrub the liner into submission. Aggressive brushing can damage an already-weakened terra cotta liner, especially in an older Silver Lake home. Let the brush do the work.
- Brush the damper and throat area by hand as best you can. Use a smaller handheld brush to reach the damper frame and the visible part of the smoke shelf. Be prepared for the reality that you cannot see the back of the smoke shelf, and don’t pretend you’ve cleaned what you can’t reach.
- Vacuum the firebox, then remove the tarp carefully. Fold the tarp inward to trap dust, and do a final vacuum pass. Remove your clothes carefully when you’re done and wash them separately from other laundry to avoid spreading creosote dust through the house.
That’s a responsible DIY sweep. It takes two to three hours the first time and about an hour once you’ve got the process down. It removes loose soot from the flue walls. It does not inspect the liner. It does not clean the smoke chamber. It does not evaluate crown or flashing condition. If you can hold those distinctions clearly in your head while you work, you’ll understand exactly what you’ve accomplished.
Common Mistakes to Avoid
- Treating a clean-looking flue as a safe flue. A flue can look clean from below and still have Stage 3 creosote glazing the smoke chamber up top. The visible portion is not the whole system. Don’t let a tidy firebox convince you the chimney is in good shape.
- Skipping the roof inspection entirely. Some Silver Lake homeowners brush from below and never look at the chimney cap, crown, or flashing. That’s where water entry begins, and water causes more long-term chimney damage in mild climates like Silver Lake’s than any other single factor. A crown that’s cracked and letting rain seep into the masonry isn’t revealed by a clean flue.
- Buying a brush that doesn’t match the flue size. Oversized or undersized brushes either leave creosote behind or wedge themselves in the flue. If you don’t know your flue dimensions, measure the inner diameter of your terra cotta tile or metal liner before ordering. In older Silver Lake homes, flue sizes vary widely, and assuming a standard size is how brushes get stuck.
- Cleaning without a fall plan. Many Silver Lake homes have steep hillside lots and roof access that’s genuinely dangerous if you’re not used to it. If you can’t stand comfortably while brushing from the top, don’t. Brush from below and accept the reduced effectiveness. A clean chimney is never worth a fall.
- Using chemical creosote logs as a substitute for brushing. Creosote logs can loosen Stage 1 creosote in some situations, but they do not remove it, and they do nothing for Stage 2 or Stage 3. They’re an occasional supplement, not a replacement for physical brushing or professional rotary cleaning.
- Assuming one professional visit per decade is enough. Even if you brush regularly yourself, the annual professional visit is the inspection that catches liner cracks, damper failures, and water entry before they become structural problems. Skipping it because the flue “looks fine” is writing off the most important part of the visit.
- Forgetting the dryer vent. This is a separate system, but it’s governed by the same principle: visible lint behind the dryer tells you nothing about the hidden accumulation in the wall duct. If you’re thinking about home venting safety, dryer vent cleaning deserves the same once-a-year professional attention as the chimney.
When to Call a Professional
Some situations are not a judgment call. If you see thick, shiny creosote when you shine a light up the flue, call us. If you smell smoke in the house when the fireplace isn’t in use, call us. If you see water stains on the ceiling near the chimney, call us. If your damper won’t open or close properly, call us. If you’ve had a chimney fire, even a small one that you think burned itself out, call us for a camera inspection before lighting another fire. If you’ve owned the house for years and have never had the chimney professionally inspected, call us before you add another year to the gap. And if the DIY brush hits an obstruction you can’t clear, stop, pull the brush out, and call us. Forcing it is how liners get cracked and brushes get permanently lodged.
Chimney Sweep Silver Lake offers free estimates in Silver Lake. Call (866) 538-0809. We answer 24/7. Fast dispatch from 7am to 7pm, Sunday through Friday.
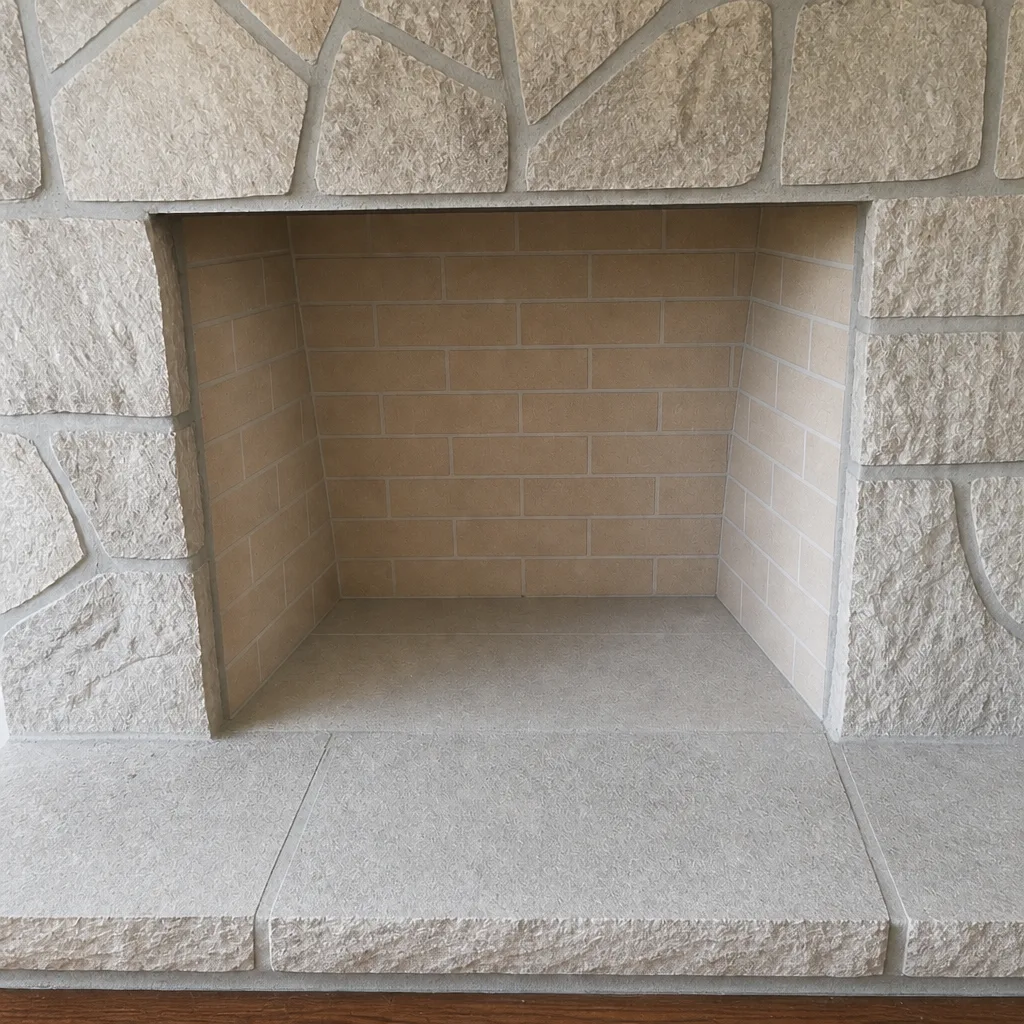
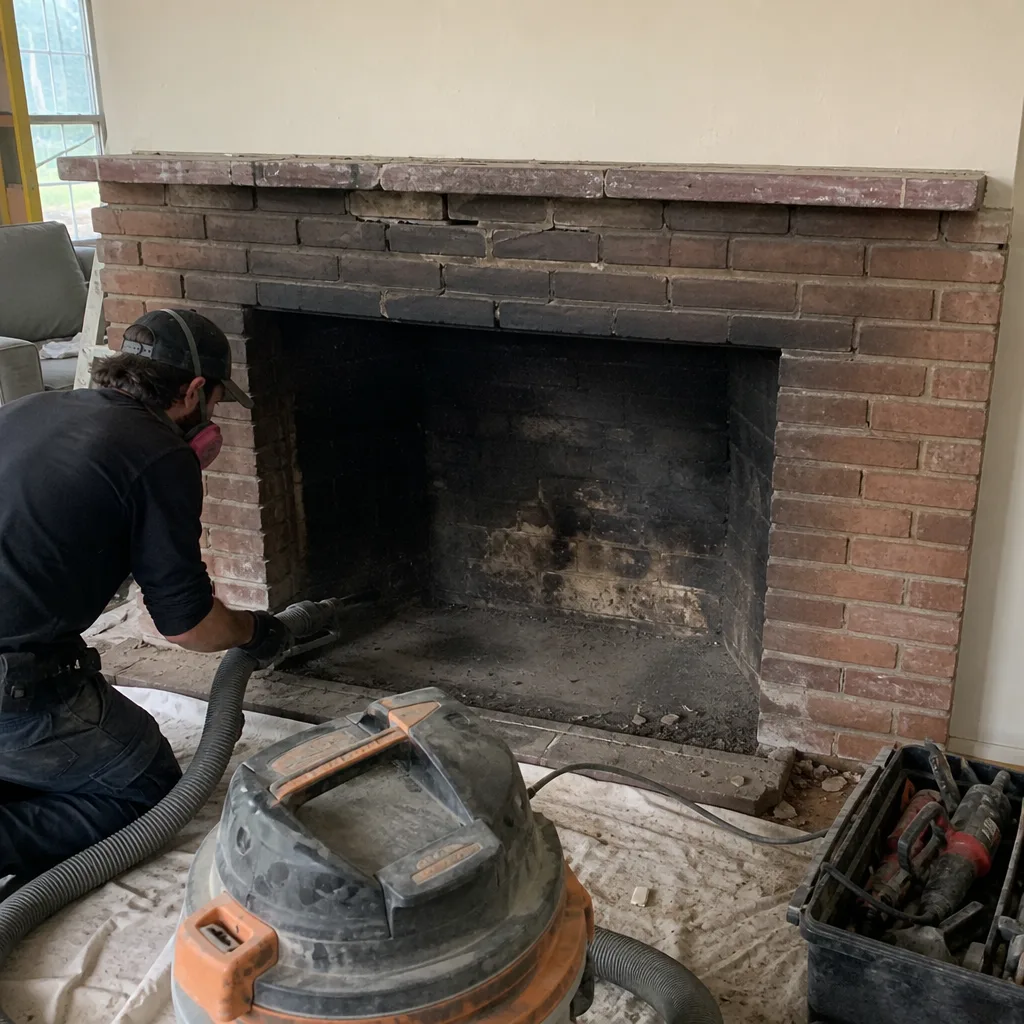
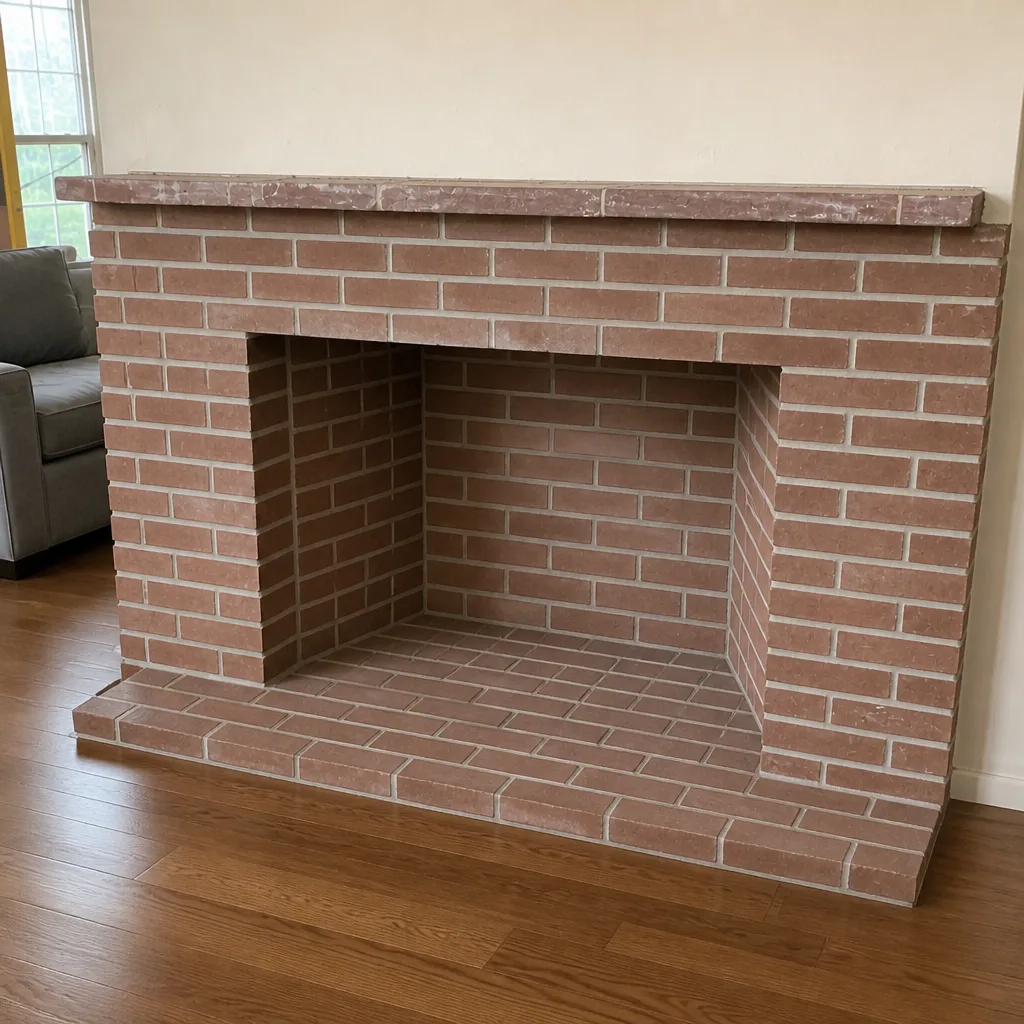
See the difference
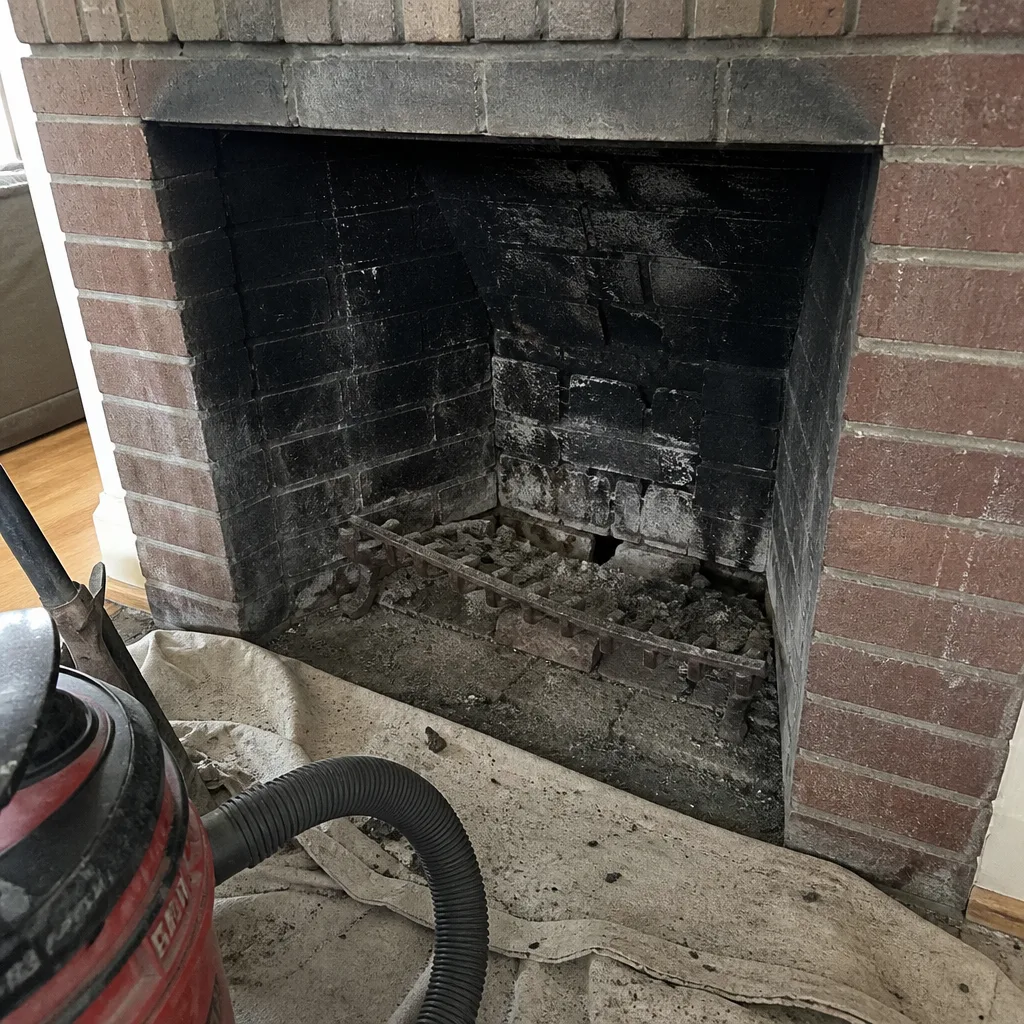 Before
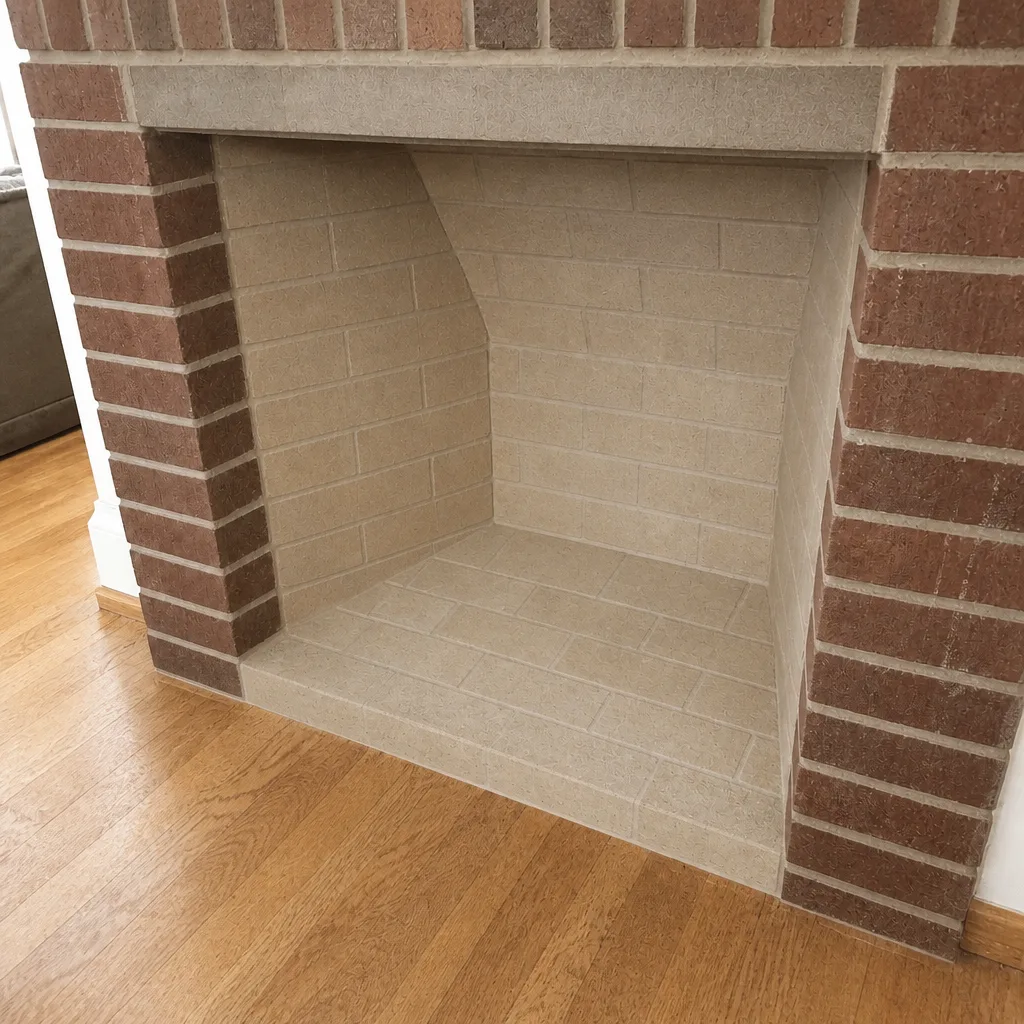 After
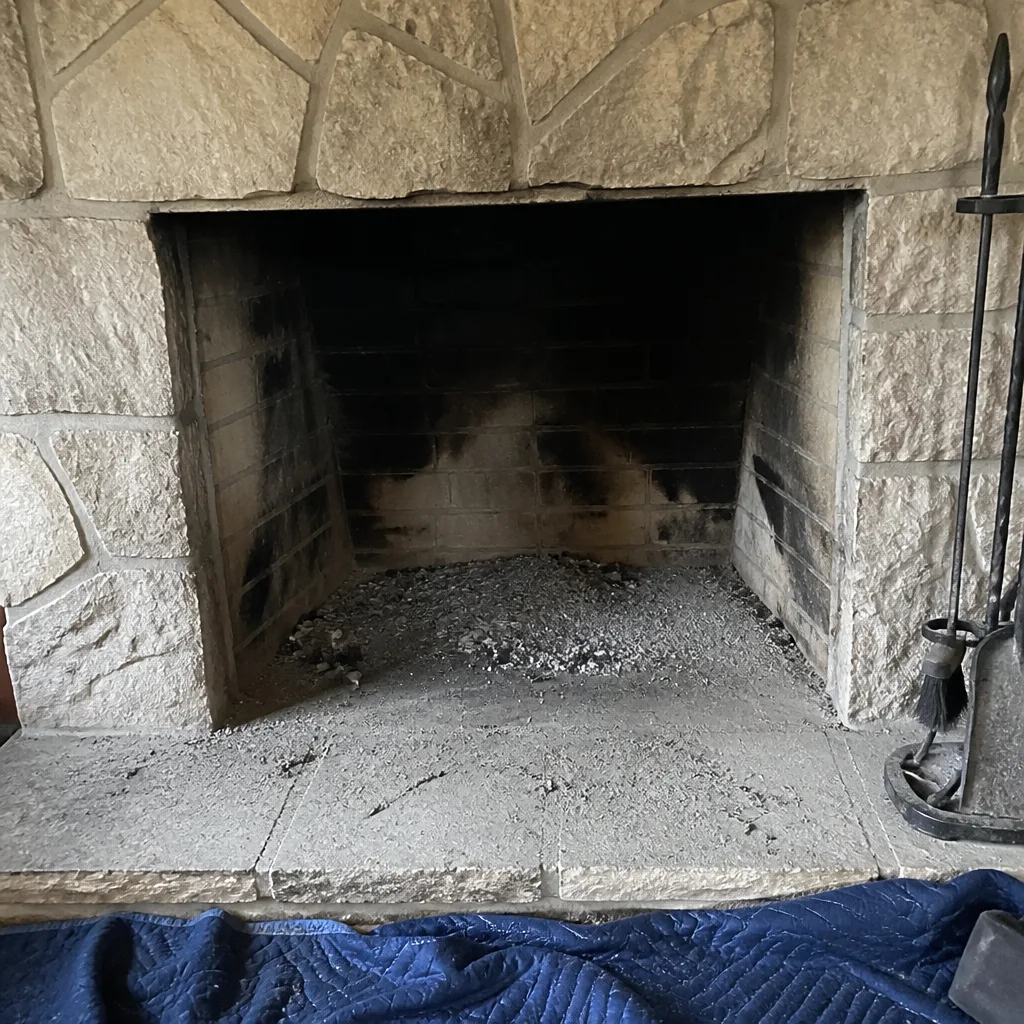 Before
 After
 Before
 After
Frequently Asked Questions
A standard chimney sweeping and inspection in Silver Lake typically ranges from $150 to $350, with the final price set by the system’s height, condition, and how long it’s been since the last cleaning. Heavier creosote buildup or an oversized flue can push the number higher. Call (866) 538-0809 for a free estimate, and we’ll give you a written price before any work begins.
The National Fire Protection Association recommends a professional inspection and sweeping at least once per year for regularly used wood-burning fireplaces. A mild Silver Lake climate doesn’t change that frequency, because creosote accumulation depends on burn temperature and wood quality more than outside weather. If you burn frequently or burn softer woods, annual is the minimum.
You can brush the vertical flue yourself and remove loose soot, but you cannot perform the inspection half of the job without a camera and trained eyes. The smoke chamber, liner joints, and firebox cavities are invisible to a DIY sweep and are exactly where dangerous conditions develop. The safe model is annual professional visits with optional DIY brushing in between.
Stage 1 creosote is a light, fluffy soot that a brush removes easily. Stage 2 is a hard, shiny flake that clings to surfaces and resists brushing. Stage 3 is a thick, tar-like glaze that no hand brush removes and that burns intensely if ignited. A DIY brush handles Stage 1 and some Stage 2; Stage 2 and Stage 3 in the smoke chamber require professional rotary tools.
A visual check from the firebox shows you only the lowest part of the flue and the firebox walls. It reveals nothing about the upper flue, the smoke chamber, the liner joints, or the crown. The conditions that cause chimney fires and carbon monoxide problems live in those hidden areas, which is why a camera inspection is the standard for evaluating systems in older homes like many in Silver Lake.
No. The climate here doesn’t produce freeze-thaw stress, which is a bigger factor in colder regions, but every fire you light still deposits creosote and exposes the liner to thermal stress. In fact, many Silver Lake fireplaces burn hard and fast on cooler winter evenings and then cool quickly, which is a cycle that contributes to creosote accumulation and liner wear over time. The maintenance schedule should be the same as anywhere else.
Water stains near the fireplace usually mean the chimney crown or flashing is letting rainwater into the masonry or the framing around the chimney chase. This is not a cleaning issue and it won’t resolve on its own. Call us at (866) 538-0809 for an assessment. Left alone, water intrusion causes mortar erosion, liner damage, and structural deterioration that gets more expensive every year.
The Bottom Line
The DIY-versus-professional chimney decision isn’t really about cost, because the two options do different jobs. A DIY sweep brushes the visible flue and removes loose soot. A professional visit sweeps, inspects, and evaluates the entire system, including the invisible parts where house fires and carbon monoxide leaks actually originate. For Silver Lake homeowners in older homes with terra cotta liners and non-standard dampers, the inspection half of the professional visit is the most valuable part, and it’s the part no brush kit replaces. Brush between visits if you want to. But keep the annual professional on the calendar. The cost of a sweep is predictable. The cost of an unseen liner failure is not.
Chimney Sweep Silver Lake works exclusively with professional-grade materials like HeatShield for liner resurfacing, Gelco for chimney caps, and Olympia Chimney for masonry products. We carry the parts and the expertise to fix what we find, not just report it. If you’re in Silver Lake, call (866) 538-0809 for a free estimate. We answer 24/7. Fast dispatch from 7am to 7pm, Sunday through Friday.
Written by the team at Chimney Sweep Silver Lake, serving Silver Lake since 2013.